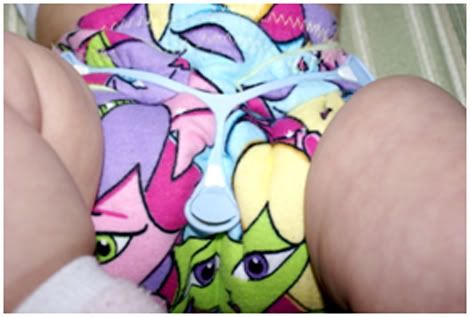
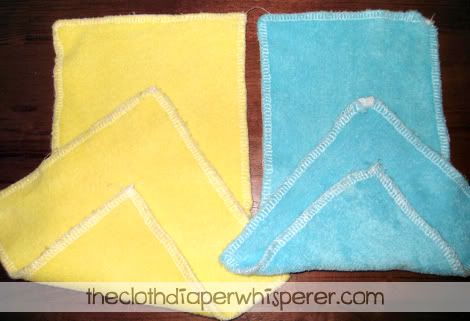
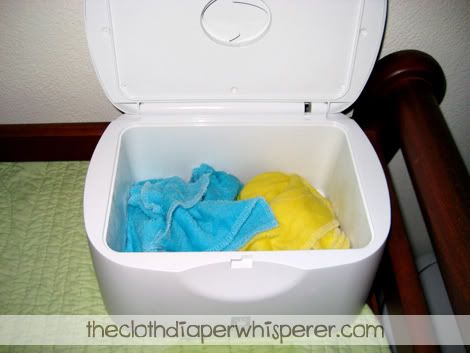
I have tried a few diaper patterns and have settled on a fitted diaper pattern put out by VERY BABY. I chose this one because it was the easiest to make AND it seems to fit my son the best. It also turns out GREAT!!! The pattern can be found at www.verybaby.com and is quite detailed and explained very well. Someone with basic sewing skills should have no problem at all. The pattern also includes all of the markings for placement of the elastic and snaps. The Very Baby pattern is intended to be a snapped diaper but can be modified for hook and loop tape which is what I prefer. I have given an overview of the process below.
I use a serger to do the majority of the sewing. There are a few steps that still need to be done on a regular sewing machine. The diapers can also be made on a regular sewing machine using the turn and topstitch method. I just really like my serger!
You are given a list of suggested fabrics with the pattern but I have chosen to use recycled cloth from t-shirts, flannel sheets, nightgowns etc. I do wash all of the fabric with the same detergent that I use with my cloth diapers BEFORE I cut them up. If I am using recycled materials I will also strip them just as I would cloth diapers to remove any detergent residue or residue from softener sheets.
Most of the diapers that I make, I make from flannel just because I have a lot of it and have a pretty easy time getting more.
Materials needed:
Pattern, print flannel for outside layer, solid flannel or other absorbent material for inside layer, touch-tape (diaper quality velcro), ¼“ swimsuit elastic, terry toweling for soaker Optional materials: snaps for a snap-in soaker (I use size 16)
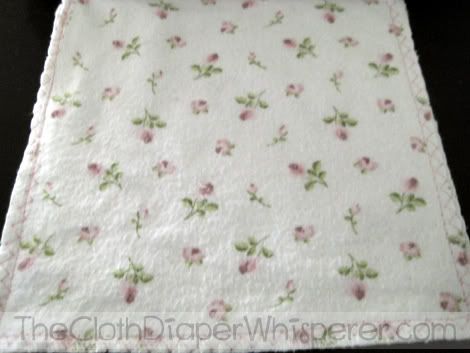
The diaper in the pictures is made of 1 outer layer of cute printed flannel and 3 inner layers of recycled flat diapers that were given to me.
TIP: In some of the pictures you may notice a small folded over blue ribbon serged into the top back edge. I use different colors to mark the different size diapers that I make. NB-white Small-blue Medium-green and Large-red
1. Cut out the layers for your diaper. Transfer markings for the elastic from the pattern onto the inside layer with a marking pen and sew the touch-tape(diaper quality velcro) to the outside print layer just under where the elastic will be sewn. Stack the layers together with right sides out. Pin all the layers together being careful to not block where you need to put elastic.
I use a serger to do the majority of the sewing. There are a few steps that still need to be done on a regular sewing machine. The diapers can also be made on a regular sewing machine using the turn and topstitch method. I just really like my serger!
You are given a list of suggested fabrics with the pattern but I have chosen to use recycled cloth from t-shirts, flannel sheets, nightgowns etc. I do wash all of the fabric with the same detergent that I use with my cloth diapers BEFORE I cut them up. If I am using recycled materials I will also strip them just as I would cloth diapers to remove any detergent residue or residue from softener sheets.
Most of the diapers that I make, I make from flannel just because I have a lot of it and have a pretty easy time getting more.
Materials needed:
Pattern, print flannel for outside layer, solid flannel or other absorbent material for inside layer, touch-tape (diaper quality velcro), ¼“ swimsuit elastic, terry toweling for soaker Optional materials: snaps for a snap-in soaker (I use size 16)
The diaper in the pictures is made of 1 outer layer of cute printed flannel and 3 inner layers of recycled flat diapers that were given to me.
TIP: In some of the pictures you may notice a small folded over blue ribbon serged into the top back edge. I use different colors to mark the different size diapers that I make. NB-white Small-blue Medium-green and Large-red
1. Cut out the layers for your diaper. Transfer markings for the elastic from the pattern onto the inside layer with a marking pen and sew the touch-tape(diaper quality velcro) to the outside print layer just under where the elastic will be sewn. Stack the layers together with right sides out. Pin all the layers together being careful to not block where you need to put elastic.


2. Sew the elastic into the diaper between the two inner layers, where marked with a zig-zag stitch, stretching as you go. As you finish each leg area and front and back area clip the elastic close to your ending point.


3. Serge around the diaper catching all the layers. The wings are the hardest to do because of their rounded shape HOWEVER if you are careful to pull the material out straight in front of the cutting blade and take it slow it comes out very nicely. When you get back to your starting point serge another inch or so being careful to not get anything in the way of your cutting blade. Finish off your serged edge by pulling out extra thread and clipping it, giving yourself plenty of room to tie it off neatly.

4. Sew touch-tape onto the inside of the wings along with laundry tabs and a tab to overlap the wings if desired..

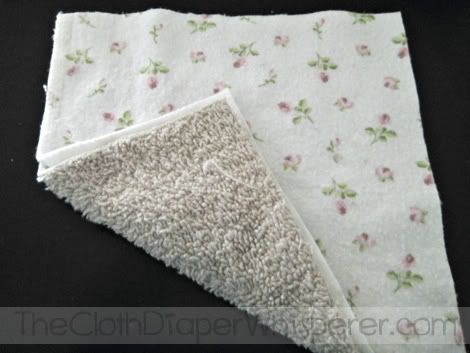
5. Cut out the soaker fabric. I use 3-4 layers of old bath towels. Serge around the edge. I serge the towel 2 layers at a time and then machine stitch the 2 groups of 2 together so that I am not putting my serger through to much fabric.

This diaper has an external soaker so that it dries quicker. The soaker can be free floating OR you can apply a few snaps for the soaker to snap into the diaper body. The snaps are pretty easy to install and I like being able to have 1 piece to handle. I use the snaps from snap source since the snap setter is fairly cheap. Their snaps have the longer prong necessary for cloth diapers as well.
The first picture is of a soaker that is free floating, the second is a picture while the snaps are going in and the third is of a snapped in soaker


Completed diaper Size small and 2 that I had made the other day in size NB

 That is all there is to it! It takes me only about 30-45 minutes to make 1 diaper (depending on how many interruptions I get). I personally LOVE them! They are SO easy to make AND use! They are also REALLY cute since I am able to choose my own fabrics. I am able to use recycled cloth which really cuts down on cost and saves an article of clothing from being thrown away when the material is still usable. Furthermore, my husband is a lot more eager to help with the diaper changing now that I no longer use just prefolds!!!!!
Warning!!! Diaper sewing can become VERY addicting!
- By Crystal
 |
 |
 |
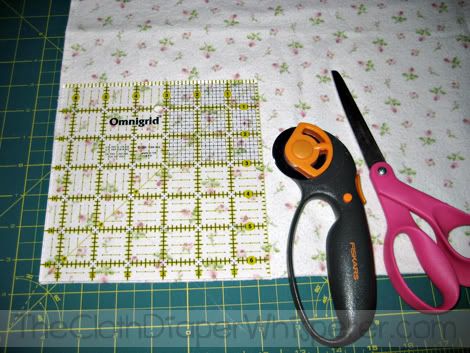
 This basic instruction can be changed to make a diaper that suits your needs. In making a diaper I wanted one that was easy to make, I take easy as less them an hour project. I will try to put in where changes could be made to improve this basic design.
 Talking about design, the first thing that needs to be done is a pattern. I make my patterns by making half of the diaper I want. I either trace a cloth diaper I want or a disposable that fits my baby well. You only want to do half because you want the diaper to be symmetrical. I took a disposable that I had and traced that and then changed the areas that I wanted a little different. I make the crotch skinnier and the tabs longer. Once your design is on paper cut it out and you have your pattern. You can save this basic pattern for making others and them you just have to lengthen where you need it bigger, usually in the rise of the diaper.
 The kind of fabric you use can really vary by what you have on hand or if you want to use a diaper cover or not. I make mine to be used with a diaper cover,
 or without a diaper cover and bottoms. My first ones I made were out of flannel (inside and out) and micro-terry cloth soaker. In my example I used fleece on the inside, flannel on the outside and micro-terry cloth as the soaker. Another option would be PUL on the outside and either flannel or fleece on the inside. You can also use other soakers, extra layers on flannel, an old flat diaper or old t-shirts also work as good soakers. I pick micro-terry because it holds a lot and is cheaply found in the automotive department of stores.
 Once you have your pattern and the fabric picked out, you will go on to cutting out your fabric. You will only need your inside and outside fabric and not your soaker. You will want to fold your fabric in half (make sure if there is a pattern on it, it is the way you want it to be. In my example I wanted the cats to be the right way in the front of the diaper, but they are upside down in the back. If I wanted that different I would have needed a crotch seam). You want to pin the pattern with the half line on the fold. Once pinned, you can cut the fabric out.


 To put on I use a snappi to keep the diaper close and a diaper cover over that.